

24-Hour Emergency Electricians in Fort Worth, TX
Call this Saturday to Get 15% OFF
Need an electrician?
Schedule NowRequest Electrical Service Now
817-585-2993
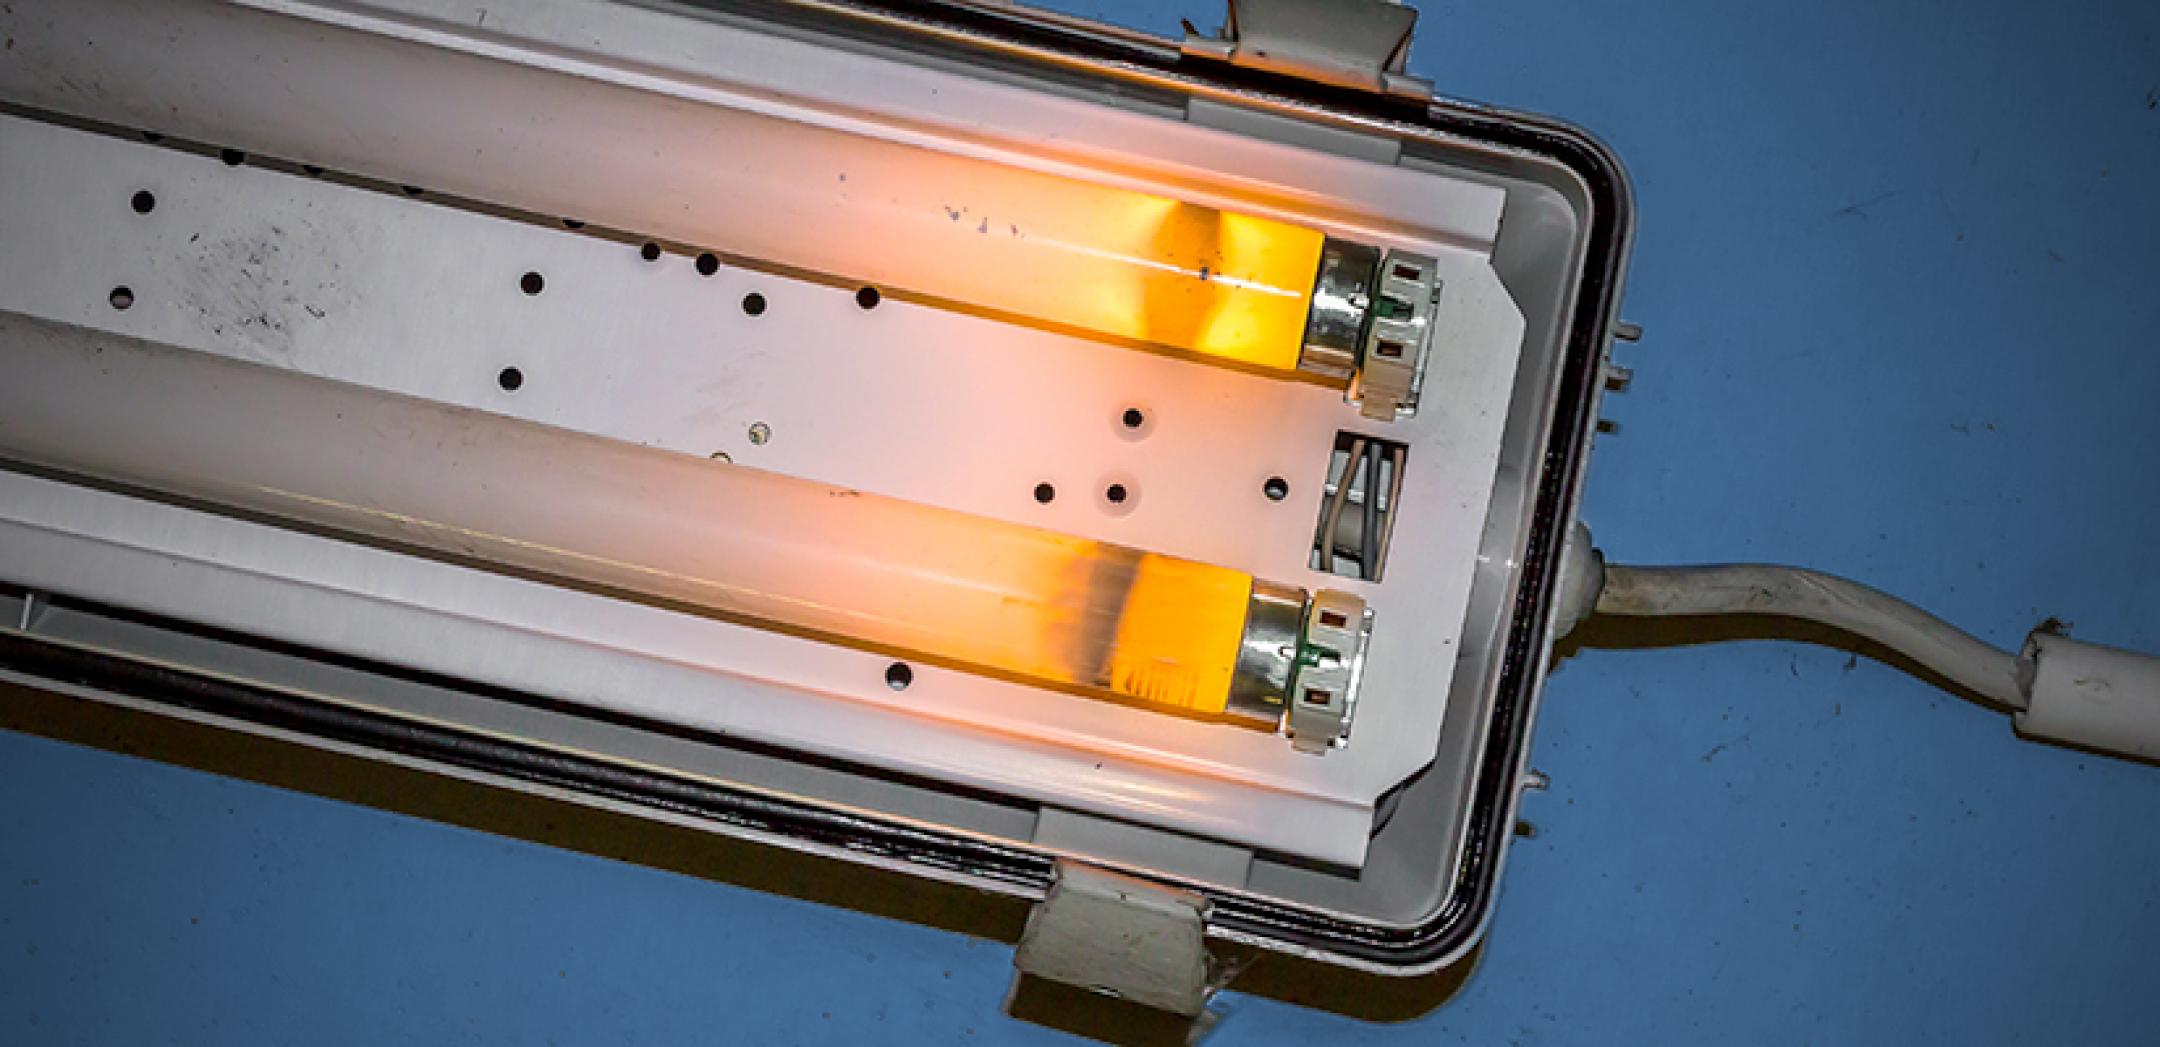
Do you constantly have flickering and or humming fluorescent lights? You may want to consider an upgrade to the light ballast of the fluorescent fixture because it will return the fluorescent light into full operations. The entire replacement should not take more than 10 minutes and if you face any difficulty, please contact Mr. Electric of Fort Worth. There is no need to Google electrician near me as our certified electricians are standing by to serve you.
Collect your tools and materials
Necessary tools you will to replace your light Ballast include; a non-contact voltage tester, a wire cutter or stripper, the wire nuts, socket wrench, and a camera or smartphone.
Turn off the power
Your first step towards replacing a light ballast is to turn off the power source at the breaker box and if possible, unplug the light.
Remove the cover from the fixture
Remove the clear plastic lens surrounding the head of the light fixture, and if the light frame has a lid, simply check the clasps and pull them down to allow you to swing down the lens.
Remove the fluorescent tubes
Twist the bulb lightly at 90 degrees, and tug down the metal contact at the ends of the bulb to slide the bulb out of the socket. Make sure you check those sockets that hold the bulb, then tighten and replace when necessary.
Remove the cover plate
There is a wiring cover plate located in the center of the light fixture- you need to remove this in order to expose the wires. Make sure you locate the tabs holding the cover in place and then squeeze the sides of the cover in order to remove the tabs right off the slots and pull it down to remove that cover.
Check for the voltage and take a picture
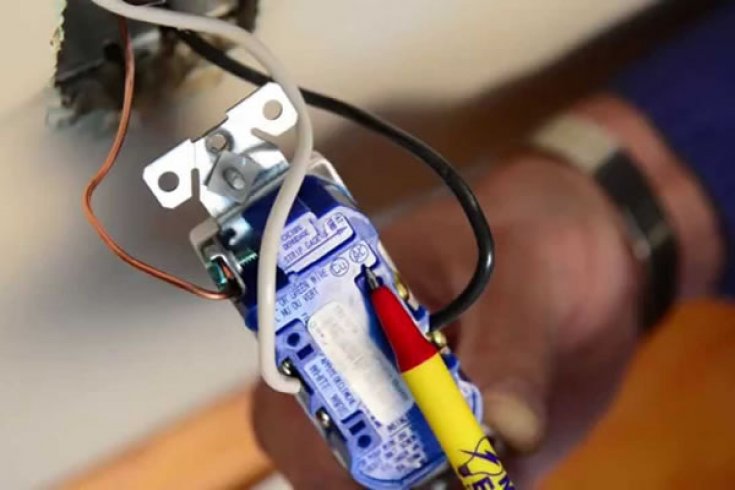
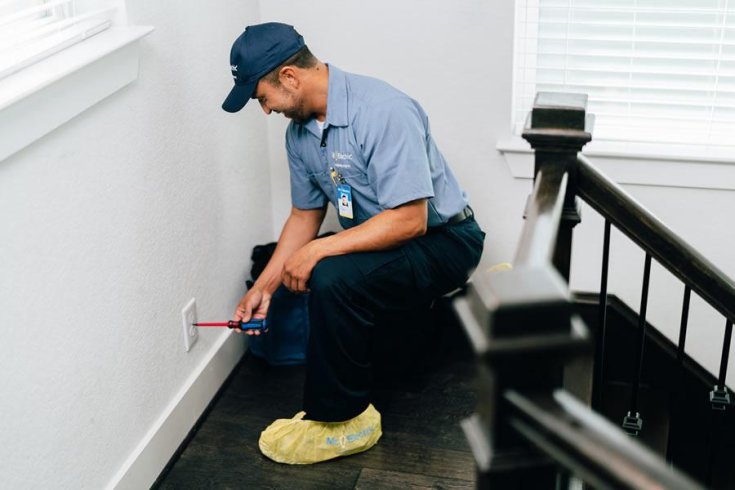
Just before touching the wires, make sure you check the power voltage with a voltage tester, then take a picture of the wires for reference especially when you are hooking the new ballast.
Disconnect the wires of the Ballast
Just remove the connectors or simply cut the wires as close to the needed ballast as possible, in order to disconnect the Ballast.
Remove the ballast and get a replacement ballast
With support from your handmake use of a socket wrench to remove the nuts and bolts before removing the Ballast from the fixture. You can check for the most suitable replacement Ballast from Mr. Electric of Fort Worth.
Prepare the wires for the new Ballast and Install the Ballast
Remove the damaged Ballast wires by stripping ½ an inch from the ends with the aid of wire strippers, then mount the new Ballast inside the fixture with the nuts and bolts and with the aid of the socket wrench. Connect the new Ballast wires to the fixture with the wire nuts (make use of the picture you took earlier to match the original wiring).
Re-install the light components and restore the power
Add the wiring cover plate back alongside the bulbs plus the fixture lens. Turn back the power and dispose of the old Ballast properly. Contact Mr. Electric of Fort Worth if you are having issues at any point of installing the new Ballast.